Printing
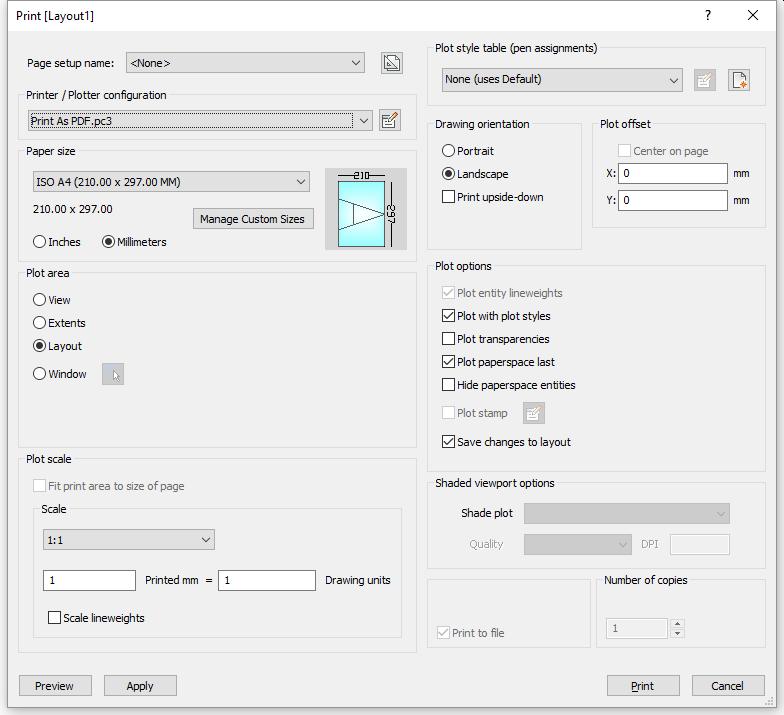
- Choose options.
- Click Preview to preview the plot on simulated paper.
- Click Apply to apply the changes.
- Click Print to print the drawing, or click Cancel to close the Print dialog box.
Command Options
|
Option |
Description |
|
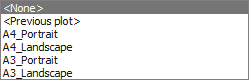
Page Setup Name
|
Recalls plot settings used previously:
|
|
Save current settings to page setup |
Create new page setups; see the PageSetup command. |
|
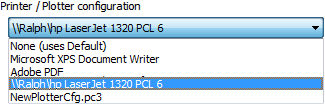
Printer/Plotter Configuration |
Selects the printer or plotter.
The program works with any output device installed on the system, including networked printers, print to file, faxes, and PostScript devices -- as well as predefined printer parameters stored in PC3 files. |
|
Edit plotter configuration |
Opens the printer's Properties dialog box for customizing the printer's parameters and creating PC3 files; see the PlotterManager command. |
|
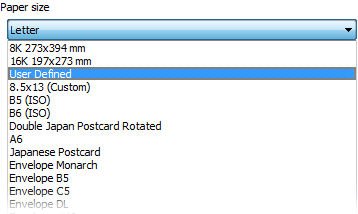
Paper Size |
Specifies the size of paper. You can select standard sizes listed by the droplist; these are sizes supported by the printer.
While printer may appear to support many different sizes, you should select only the size of paper that is actually in the printer. If User Defined appears in the list, the paper's dimensions are specified by the printer's Properties dialog box. The image indicates the size, position and orientation of the current plot area on the selected paper size.
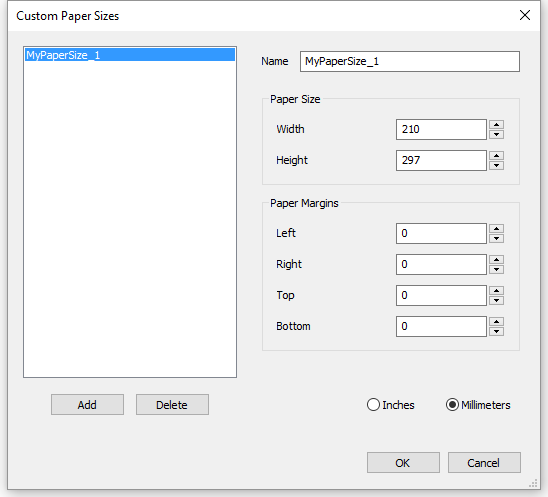
Manage Custom Sizes - (PDF output only.) Manages custom paper sizes when Print as PDF.pc3 is selected in the Printer/Plotter Configuration list; displays a dialog box:
|
|
Plot Area
|
Specifies which area of the drawing to print:
The Print dialog box returns, with the pair of x,y coordinates added to the Windows Plot Area boxes; you can edit the values:
|
|
Plot Scale
|
Scales the drawing to fit it to the paper: Fit print area to the size of paper - scale is calculated automatically by the program, taking into account the print area of the drawing. When this option is turned on, you cannot specify the scale factor.:
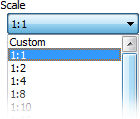
Scale - allows you to specify the scale factor to use for plotting; choose a scale factor from the droplist, or choose Custom. The scale factor shown can be edited with the ScaleListEdit command.
Custom - lets you enter in your own scale factors:
Scale lineweights - when on, lineweights are scaled with respect to the plot scale. |
|
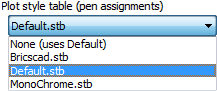
Plot Style Table (Pen Assignment) |
Specifies the plot style table to use for the printed output, which assigns properties to "pens," colors, and entities.
When you switch from None to a named plot style, BricsCAD prompts you: Assign plot style table to all layouts? - (enter an option):
|
|
Edit Plot Style |
Opens the Plot Style Table editor dialog box; see the PlotStyle command. This button is available only when the drawing uses STB plot styles. |
|
Create New Plot Style |
Creates new plot styles; runs the Add Plot Style Table wizard; see the StylesManager command.
|
|
Drawing Orientation |
Specifies the orientation of the drawing on rectangular paper:
|
|
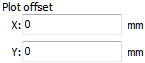
Plot Offset |
Specifies the offset distance for the print. Center On Page - centers the print on the page, taking into account margins. Together with Fit Print Area to Size of Page, this option is excellent for prints where scale is unimportant. X and Y - enter positive or negative distances to move the drawing in the x and/or y distances:
The lower left corner of the drawing is moved by the specified distance. This is useful when the paper has a title block area that might interfere with the drawing. |
|
Plot Options |
Plot entity lineweights - toggles the use the lineweights; this option is unavailable when Plot with Plot Styles is turned on\:
Plot Paperspace Last - specifies the printing order; this option is available only when printing layouts, and so is unavailable in model tab:
Hide Paperspace Entities - when on, removes hidden lines from 3D entities in paper space. This option is disabled when printing model space. Plot Stamp - toggles use of the plot stamp; click the
|
|
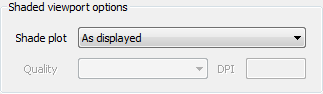
Shaded Viewport Options |
Override the visual style of the current view when printing model space:
Shade Plot - choose a shade style plot the drawing with. This option is disabled when printing a paper space layout. The Shade Plot mode of a paper space viewport is defined in the Shade Plot property of the viewport. The quality of the Rendered option is defined through the current render preset; see the RenderPresets command. |
|
Print to File |
When checked, redirects the print output to a *.plt file, which can be processed by certain types of software. |
|
Number of Copies |
Specifies the number of copies to print. Enter a number or click the buttons to change the value. |
|
Preview |
Displays a preview of the print. In the preview window, click Print Settings button to return to this dialog box. See the Preview command. |
|
Apply |
Applies the changes you made to this dialog box. The changes are remembered the next time you use this command. This is like using the PageSetup command. |
|
|
Prints the drawing, and then returns to the drawing editor |
|
Cancel |
Returns to the drawing editor without printing the drawing. |

 button:
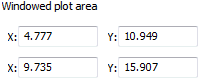


 Edit Plot Stamp button to change plot stamp data. See the